In this guide, we’ll walk you through the process of another Smart Home Device Installation by configuring the Philips Hue Smart Wireless Dimmer Switch V2, a convenient addition to your smart home lighting setup. For a broader understanding of setting up your smart home devices, check out our comprehensive guide, “Installing Smart Devices: Setting Up Your Smart Home.” With its seamless integration and customizable controls, the Hue Dimmer Switch enhances your lighting experience with ease.
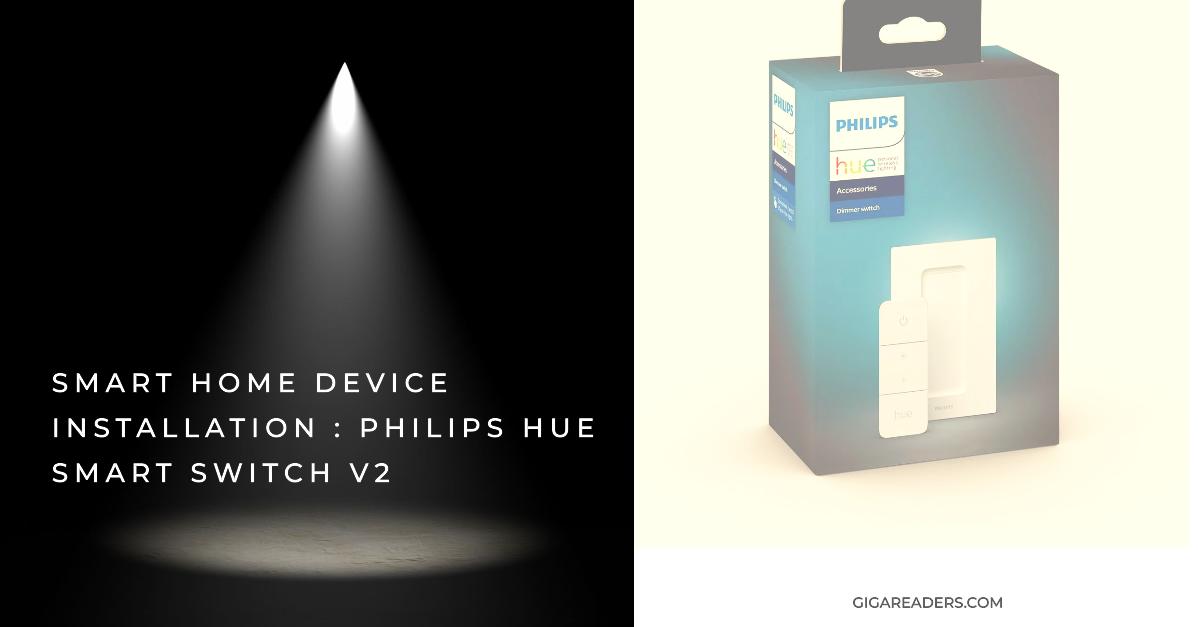
Table of Contents
- Unboxing and Mounting
- Installing Batteries
- Pairing with Philips Hue Bridge
- Adding to Philips Hue App
- Configuring Controls
- Mounting Finalization
- Conclusion
- FAQs
Unboxing and Mounting
When you unbox the Philips Hue Smart Wireless Dimmer Switch V2, you’ll find the dimmer switch, mounting plate, and screws. Start by mounting the dimmer switch on a suitable wall location, ensuring it blends seamlessly with your decor. Firstly, peel off the adhesive backing on the mounting plate and attach it securely to the wall. Alternatively, use the provided screws to mount the plate in place. Once the plate is secured, position the dimmer switch on the mounting plate and ensure it snaps into place securely. Adjust the angle if necessary to optimize accessibility and aesthetics. Finally, test the mounting stability by pressing the buttons on the dimmer switch to ensure it remains firmly in place.
Installing Batteries
Insert the batteries into the dimmer switch, following the polarity markings to ensure they are inserted correctly. These batteries power the dimmer switch and enable wireless communication with your Philips Hue lights.
After inserting the batteries, ensure the battery compartment cover is securely closed to prevent any damage or interference.
Next, it’s important to test the functionality of the dimmer switch by pressing the buttons to verify that it powers on and responds as expected.
Pairing with Philips Hue Bridge
To enable communication between the Philips Hue Smart Wireless Dimmer Switch V2 and your Philips Hue lights, it needs to be paired with the Philips Hue Bridge.
Begin by pressing and holding the “Setup” button on the back of the dimmer switch until the LED indicator starts blinking. This action puts the dimmer switch into pairing mode.
Next, open the Philips Hue app on your smartphone or tablet and navigate to the “Settings” or “Accessories” section.
Then, select “Add accessory” and follow the on-screen instructions to search for and connect the dimmer switch to your Philips Hue Bridge.
Adding to Philips Hue App
Once the dimmer switch is successfully paired with the Philips Hue Bridge, it can be added to your Philips Hue app for further customization and control.
To do this, open the Philips Hue app and navigate to the “Settings” or “Accessories” section.
Then, select “Add accessory” and follow the on-screen instructions to search for and connect the dimmer switch to your Philips Hue Bridge.
Once the dimmer switch is added, you can customize its controls within the app, assigning specific scenes or light settings to each button.
Configuring Controls
Customize the controls of the Philips Hue Smart Wireless Dimmer Switch V2 to suit your preferences and lifestyle.
You can start by assigning specific scenes or light settings to each button on the dimmer switch, allowing you to easily adjust lighting to different scenarios with a single press. Additionally, adjust the dimming behavior of the dimmer switch to control the brightness of your Philips Hue lights, creating the perfect ambiance for any occasion.
Feel free to experiment with different configurations and button assignments to find the setup that works best for you and your home.
Mounting Finalization
Once the dimmer switch is configured to your liking, finalize the mounting process to ensure it remains securely in place.
Start by double-checking that the dimmer switch is firmly attached to the mounting plate and there are no loose connections or wobbling.
If needed, tighten the screws on the mounting plate to ensure a secure fit against the wall. Finally, test the functionality of the dimmer switch one final time to verify that all settings and controls are working as intended.
Conclusion
Congratulations! You have successfully installed and configured the Philips Hue Smart Wireless Dimmer Switch V2. Now, you can enjoy the convenience and flexibility of controlling your Philips Hue lights with ease, enhancing your smart home lighting experience.
FAQs
1. Can I install the Philips Hue Smart Wireless Dimmer Switch V2 without a Philips Hue Bridge?
- No, the dimmer switch requires a Philips Hue Bridge for communication with your Philips Hue lights.
2. Can I mount the dimmer switch on any surface?
- Yes, the dimmer switch can be mounted on any flat surface using either the adhesive backing or screws provided.
3. Can I control non-Philips Hue lights with the dimmer switch?
- No, the dimmer switch is designed specifically for use with Philips Hue lights and may not be compatible with other smart lighting systems.
4. Can I use the dimmer switch to control multiple sets of Philips Hue lights?
- Yes, you can pair the dimmer switch with multiple sets of Philips Hue lights and customize its controls accordingly.
5. Can I reconfigure the controls of the dimmer switch after setup?
- Yes, you can reconfigure the controls of the dimmer switch at any time using the Philips Hue app on your smartphone or tablet.